Table of Contents
XCP-NG is a free, open-source hypervisor based on Xen Server (the enterprise product from Citrix). It's a direct competitor to VMware ESXi — but completely free. Xen Orchestra (XO) is its management UI, similar to VMware vCenter.
The paid XOA (Xen Orchestra Appliance) provides all features, but the community Xen Orchestra built from GitHub source code gives you nearly identical functionality including live migration, NFS/SMB storage pools, LDAP, backups, and VM snapshots at zero cost.
-
1
Download the ISO
Get the latest XCP-NG ISO from xcpng.org. Write to USB with Rufus (use DD mode, not ISO mode).
-
2
Boot and Install
Boot from USB, accept the license, select your installation disk, set a root password. Installation takes ~10 minutes. XCP-NG installs its own DOM0 (control domain) — the host becomes a managed hypervisor.
-
3
Note the Host IP
After reboot, the XCP-NG console displays the host's IP. You'll use this to connect from XOA. SSH is enabled by default:
ssh root@<xcpng-ip>
Vates (the XCP-NG company) provides a free XOA appliance that can be deployed directly from the XCP-NG console with one command. This gets you the paid XOA on a 30-day trial — useful for evaluating features before building the community version.
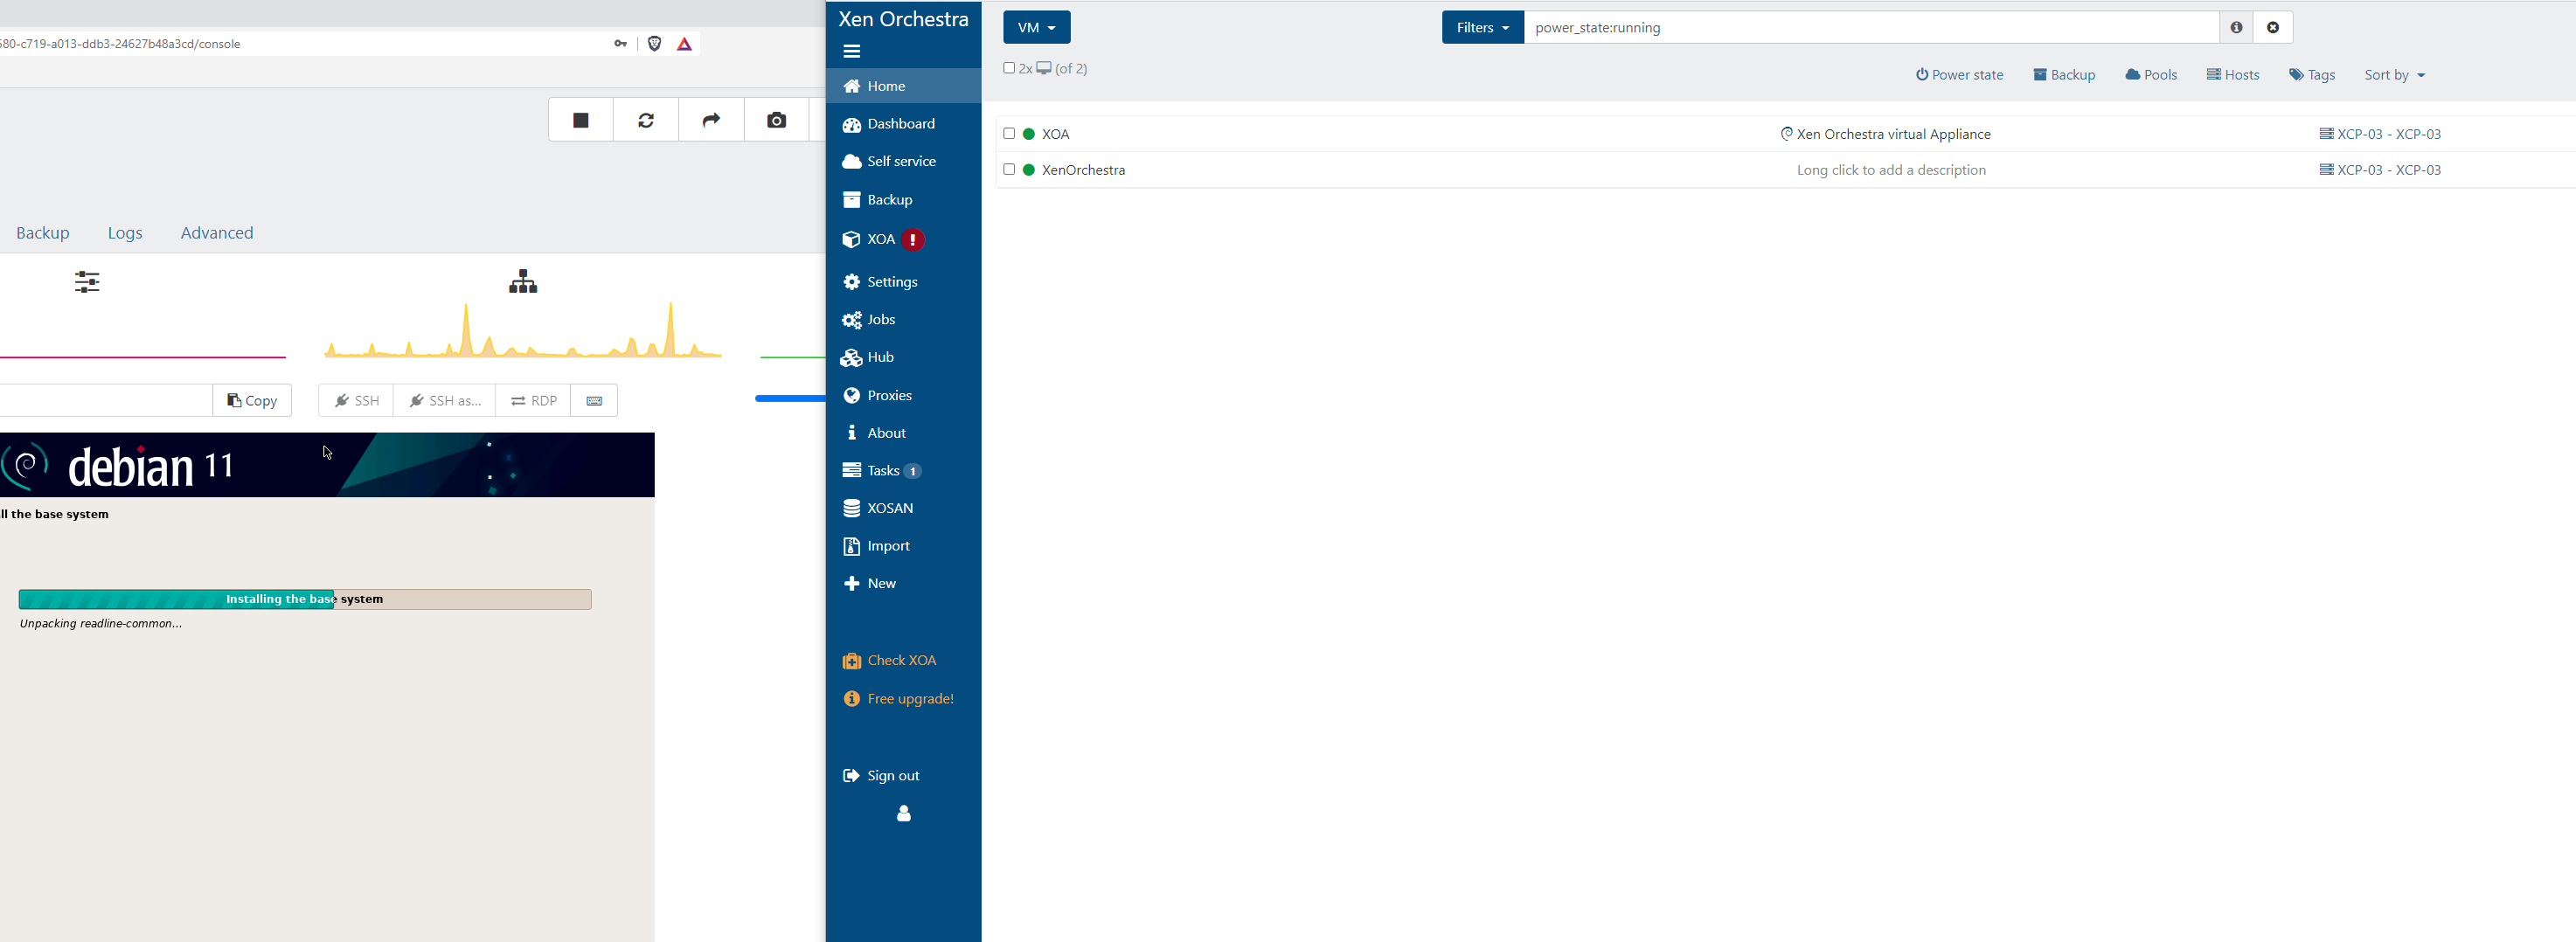
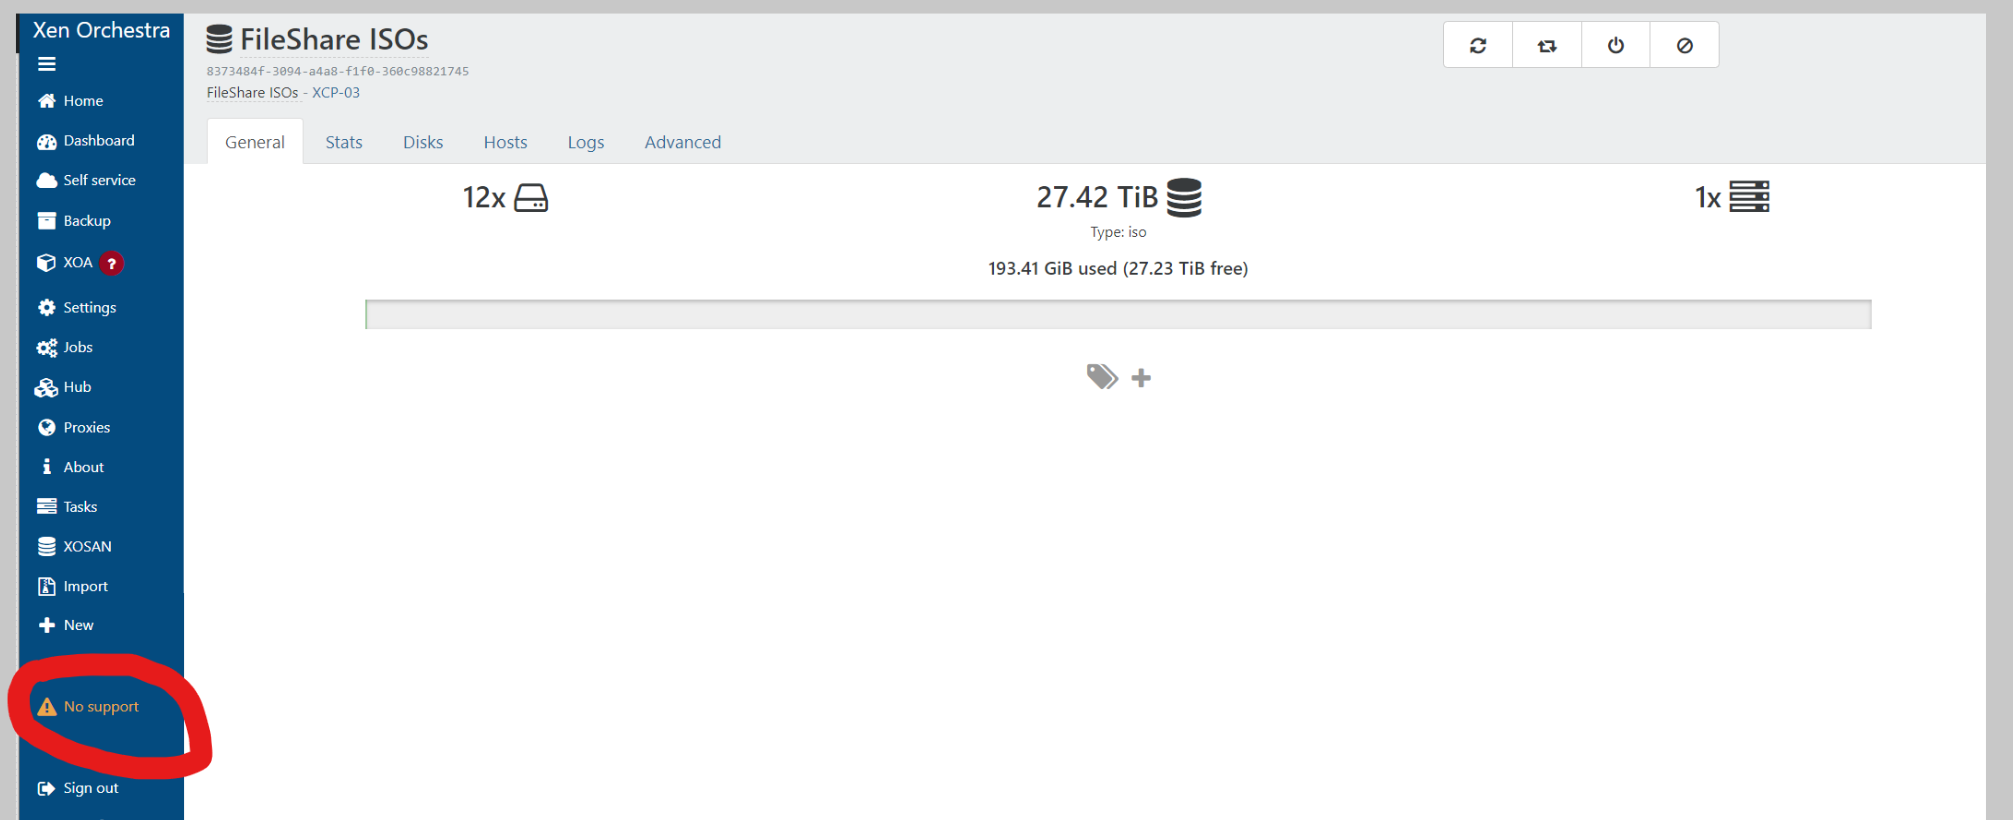
This is the community approach — deploy a Debian VM, run the automated installer script, and get all XOA features permanently unlocked.
-
1
Create a Debian VM on XCP-NG
Using the quick-deploy XOA or XCP-NG console: create a new VM with Debian 12, 2 vCPUs, 4GB RAM, 30GB disk. Install Debian normally.
-
2
Run the XOA Installer Script
SSH into the Debian VM and run:
bash -c "$(curl -sL https://raw.githubusercontent.com/ronivay/XenOrchestraInstallerUpdater/master/xo-install.sh)"The script installs Node.js, builds Xen Orchestra from source, and starts it as a service. This takes 10–20 minutes.
-
3
Access Xen Orchestra
Navigate to
https://<debian-vm-ip>. Default login:admin@admin.net/admin— change immediately. -
4
Power Off the Trial XOA VM
Once the community XOA is working, power off (don't delete) the Vates quick-deploy appliance. Your community build is now the permanent management interface.
-
1
Add Each XCP-NG Host
In XOA → Settings → Servers → Add Server. Enter the host IP, root username, and password. Repeat for each physical host.
-
2
Create a Pool
In XOA → Home → Hosts, select hosts and click Join Pool. A pool allows resource sharing between hosts — required for live migration.

Shared storage is required for live VM migration. The simplest option is an NFS share from a NAS, another VM, or a FreeBSD/bhyve host.
-
1
Set Up an NFS Share
On your NAS or storage VM, export an NFS share for the XCP-NG pool. Example on Debian/Ubuntu:
# /etc/exports /mnt/storage/xcpng 10.10.50.0/24(rw,sync,no_subtree_check,no_root_squash) -
2
Add Storage Repository in XOA
In XOA → pool → Storage → Add Storage Repository. Choose NFS SR. Enter the NFS server IP and path. XCP-NG mounts it on all hosts in the pool automatically.
With shared storage configured, you can migrate VMs between hosts with zero downtime.
-
1
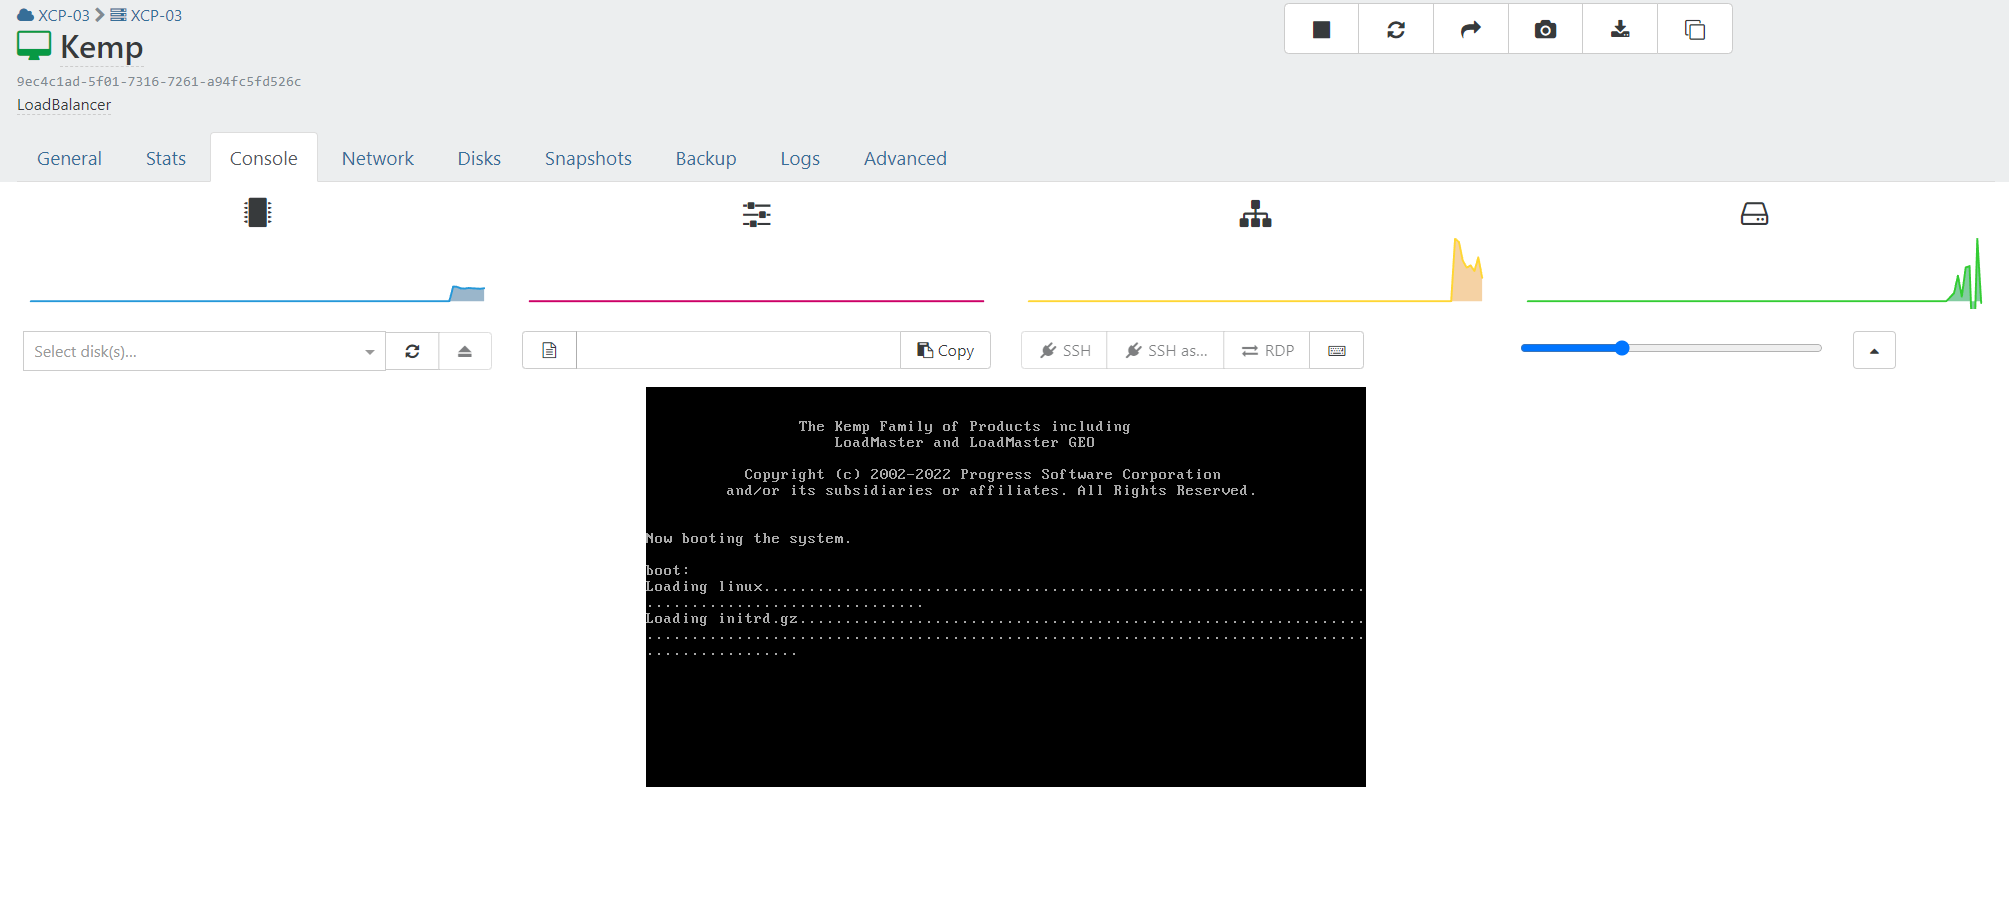
Select a Running VM
In XOA, right-click any running VM → Migrate.
-
2
Choose Destination Host
Select the target XCP-NG host and the destination storage repository. The VM memory state is transferred across the network while it continues running.
Live migration requires: hosts in the same pool, shared storage, and roughly matching CPU families (Intel→Intel or AMD→AMD). Cross-vendor migration requires using vCPU masking to present a common CPU baseline.
XCP-NG can import VMware VMDK disk images directly — useful for migrating existing ESXi VMs without reinstalling guest OSes.
-
1
Export VM from VMware
In vSphere/ESXi: right-click VM → Export OVF. Or use VMware Converter to export individual
.vmdkfiles. -
2
Create a New VM Shell in XOA
Create a new VM with the same specs (vCPU, RAM) but delete the default virtual disk. You'll attach the imported VMDK as the boot disk instead.
-
3
Import the VMDK
In XOA → Storage Repository → Import → select your
.vmdkfile. It converts to VHD format automatically. Attach the resulting VDI to your VM as the boot disk. -
4
Boot and Install XenServer Tools
Start the VM. It should boot from the imported disk. Install XenServer Guest Tools for better performance and management integration.
Pass a physical GPU directly to a VM for hardware-accelerated tasks (Emby transcoding, AI workloads, gaming VMs).
-
1
Enable GPU Passthrough on Host
SSH to the XCP-NG host. List available GPUs:
xe pgpu-listEnable passthrough for the GPU by its UUID:
xe pgpu-enable-dom0-access uuid=<pgpu-uuid> -
2
Attach GPU to VM in XOA
In XOA → VM → Advanced → GPU. Select the physical GPU from the dropdown. The VM must be powered off to attach.
-
3
Install GPU Drivers in the VM
Start the VM and install the appropriate drivers (NVIDIA CUDA for AI/transcoding). For Emby/Jellyfin, enable hardware transcoding in the media server settings and select the NVIDIA GPU.
XOA provides scheduled snapshots and backups from the UI — no scripts required.
-
1
Create a Backup Job
In XOA → Backup → New Backup Job. Select the VMs to back up, schedule (daily/weekly), retention count, and destination (local storage or NFS).
-
2
Rolling Snapshots
XOA can maintain N most-recent snapshots per VM automatically. Older snapshots are pruned to control storage growth.
- XOA Official Docs Xen Orchestra installation and configuration
- XenOrchestraInstallerUpdater Community script to build unlocked XOA from source — shared in HomeLab Discord #hypervisors
- XCP-NG Hard Drive Passthrough Lawrence Systems forum — whole disk/HBA passthrough guide
- GlusterFS on XCP-NG Shared storage with GlusterFS for XCP-NG pools
- XCP-NG GlusterFS Plugin Adding GlusterFS as a storage repository in XCP-NG